
Introduction
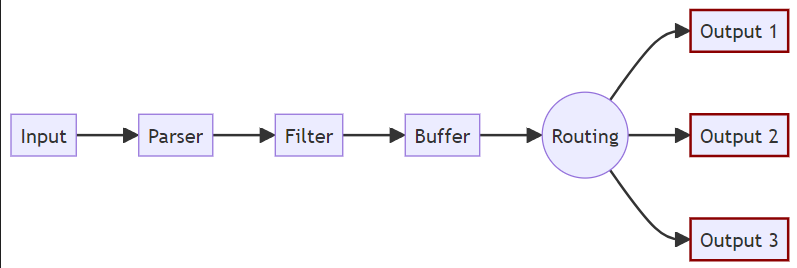
Fluent Bit, a lightweight and high-performance logging and metrics processor. Let’s break it down according to how Fluent Bit works:
1- Input: This represents the data sources that Fluent Bit collects log or metric data from. It could be a file, a network input, or other sources such as syslog, systemd, etc.
2- Parser: After receiving the input, Fluent Bit may use a parser to decode or extract structured information from the logs. For example, it could parse JSON, CSV, or other formats to interpret the log data.
3- Filter: Once the log data is parsed, the filter step processes this data further. Filters allow modification, enrichment, or exclusion of log data. For instance, you could use filters to remove sensitive data, add tags, or match certain conditions before passing the logs forward.
4- Buffer: The buffer temporarily holds the filtered log data before it’s routed to its final destination. Fluent Bit often uses buffering to handle backpressure or network issues, ensuring that data isn’t lost if a destination is temporarily unavailable.
5- Routing: This component determines where the log data is sent. Fluent Bit supports multiple outputs (destinations), so routing can send the data to various services based on configurations, such as cloud storage, a logging system (like Elasticsearch, Splunk), or even multiple destinations simultaneously.
6- Output: The data is finally forwarded to the configured output destinations. In the diagram, three outputs (Output 1, Output 2, Output 3) represent different logging systems or storage backends where Fluent Bit sends the logs after routing.
Getting Started with Fluent Bit
Installing on Ubuntu
The official instructions here: https://docs.fluentbit.io/manual/installation/linux/ubuntu
Add Server GPG key
curl https://packages.fluentbit.io/fluentbit.key | gpg --dearmor > /usr/share/keyrings/fluentbit-keyring.gpg
Set CODENAME
To know the codename of the current installed ubuntu used lsb_release -a

then export to CODENAME environment variable by:
export CODENAME="noble"
Update sources lists
deb [signed-by=/usr/share/keyrings/fluentbit-keyring.gpg] https://packages.fluentbit.io/ubuntu/${CODENAME} ${CODENAME} main
Install Fluent-Bit
sudo apt update
sudo apt install fluent-bit
Configure Fluent Bit to Read from a Log File
From Tail documentation https://docs.fluentbit.io/manual/pipeline/inputs/tail
the tail input plugin to read from a log file /path/to/log.log :
[INPUT]
Name tail # Use the tail plugin to read logs from a file

Path /path/to/log.log # Path to the log file to be monitored

Tag my_tag # Tag to identify the log stream

Refresh_Interval 5 # Interval in seconds to check for new log lines

Read_From_Head true # Read the file from the start
my fluent-bit.conf file:

my log.log file:

Add a Filter or Parse Logs
Define a Parser
First, define a parser in the parsers.conf file. For example, to parse the above log format, I created a custom parser as follows:

Note: I used some logs from /var/log/auth.log and created a regex for it:
( ?< Date>\d{4}-\d{2}-\d{2})( ?< Time>T\d{2}:\d{2}:\d{2}\W\d+\W\d{2}:\d{2}\s)( ?< Machine>\w+\W\w+\s)( ?< Method>\w+\S+\s\w+\S+)( ?< Status>\s\D+\w+)
I tested on https://rubular.com/
Add the Filter
Next, add a filter to Fluent Bit’s main configuration (fluent-bit.conf) to apply the parser to the incoming logs:
Testing
Run Fluent Bit:
./fluent-bit -c /etc/fluent-bit/fluent-bit.conf
Note: Making sure the current working directory is /opt/fluent-bit/bin/

Send logs to ElasticSearch
Configure Fluent Bit
- Checked https://fluentbit.io/blog/2023/02/06/send-logs-to-elasticsearch-service-using-fluent-bit/
but it uses Cloud Authentication so I checked Fluent-Bit Docs https://docs.fluentbit.io/manual/pipeline/outputs/elasticsearch found out how to pass credentials by
http_userandhttp_passwd]
my fluent-bit.conf File:
[SERVICE]
...
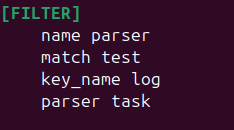
[FILTER]
name parser
match test
key_name log
parser task
[INPUT]
name tail
path /home/ali/log.log
tag test
refresh_interval 5
read_from_head true
[OUTPUT]
Name es
Match *
Host 127.0.0.1
HTTP_User elastic
HTTP_Passwd *dn=n7o+H-_3sxoz4HTI
Port 9200
Index my_fluent
tls on
tls.verify off
Suppress_Type_Name on
[OUTPUt]
name stdout
match *
Issues Faced
Issue 1: Fluent Bit TLS Configuration
Problem:
Fluent Bit failed to connect to Elasticsearch due to TLS verification issues. The error indicated that the connection could not be established because Fluent Bit was unable to verify the TLS certificate.
Cause:
In this setup, TLS was enabled by default, but Elasticsearch was using a self-signed certificate or was running on localhost without proper TLS configuration.
Solution:
Disable TLS verification by setting tls.verify Off in the Fluent Bit configuration, especially for testing or when using self-signed certificates:
tls On tls.verify Off
Issue 2:
When Fluent Bit tried to send logs to Elasticsearch, it returned a 400 Bad Request error with the message:
Action/metadata line [1] contains an unknown parameter [_type]
Cause:
Elasticsearch 7.x and above no longer support the _type parameter, which was used in earlier versions for document types. Fluent Bit was trying to send logs with the deprecated _type field.
Solution:
The Suppress_Type_Name On parameter ensures that no _type is sent to Elasticsearch.
Run Fluent Bit
Start Fluent Bit using the following command and specify the configuration file:
./fluent-bit -c /etc/fluent-bit/fluent-bit.conf
Note: this used for testing configuration to run automatically:
sudo systemctl enable fluent-bit
sudo systemctl start fluent-bit
Check Elasticsearch for the Logs
To ensure that logs are successfully being sent to Elasticsearch, I checked for the presence of the index that Fluent Bit created (my_fluent in this example).
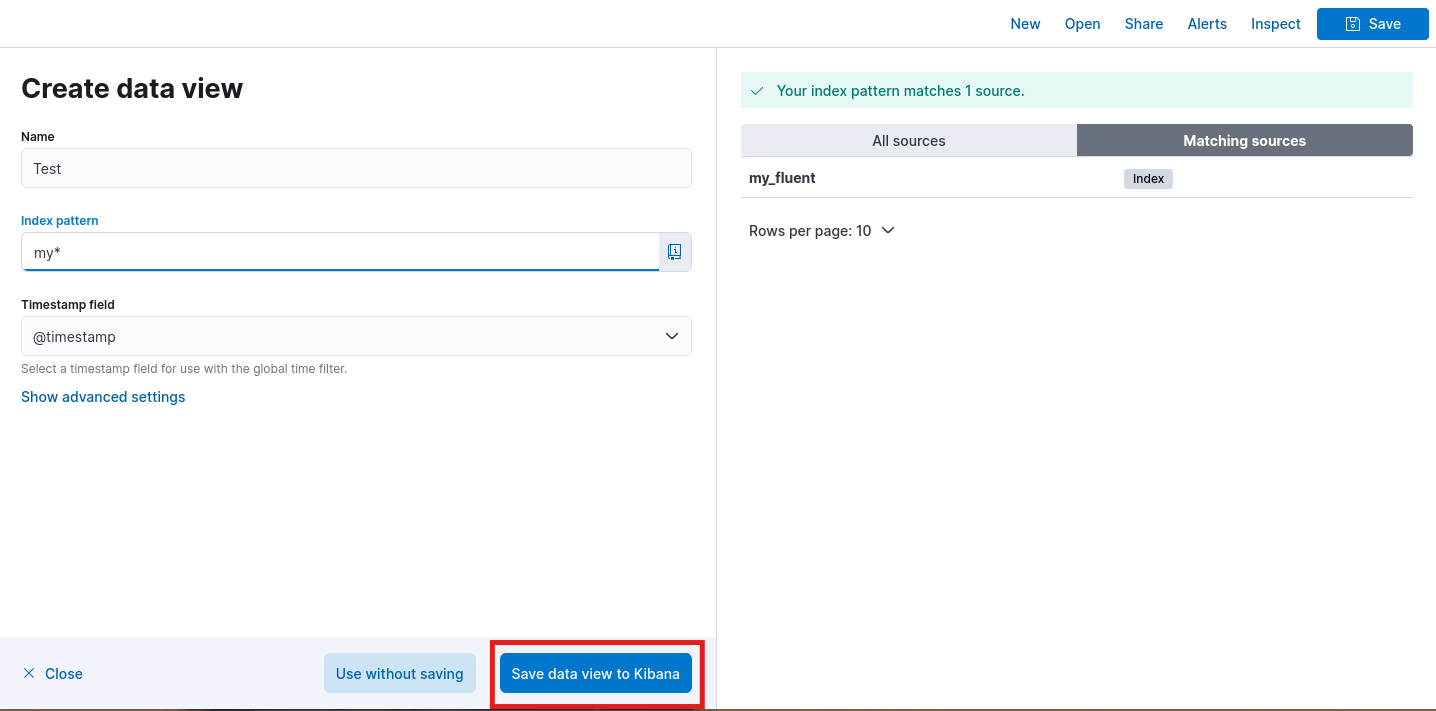
Option 1: Using Kibana
- Opened Kibana in the browser ([http://localhost:5601]).
- Navigated to Stack Management → Index Management.

- Selected
my_fluentindex.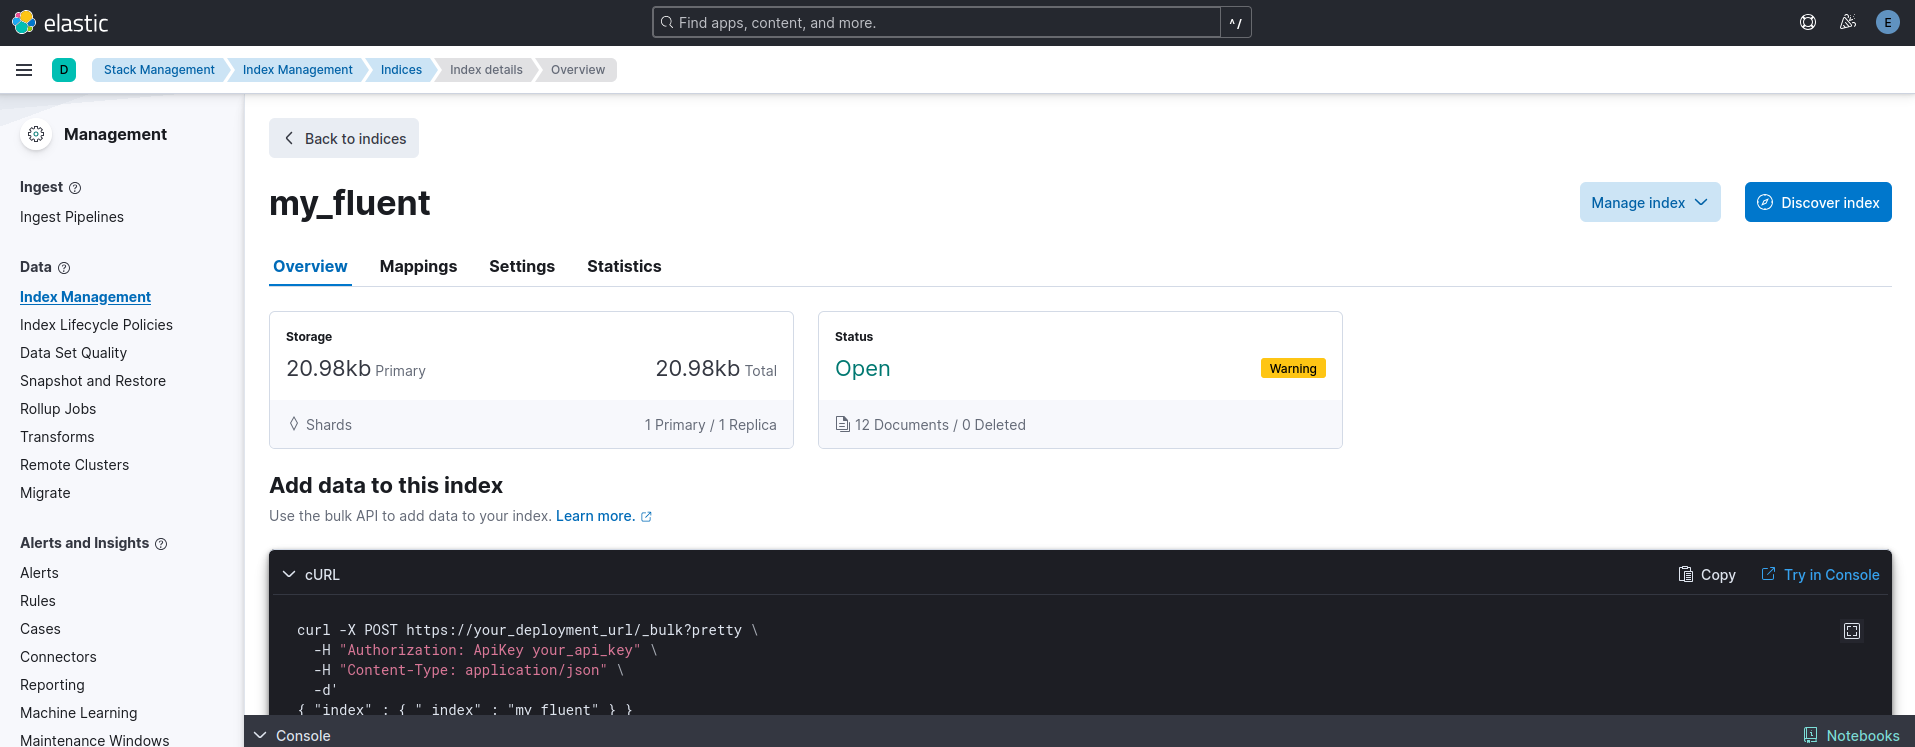
- Used Discover index button to view and search the logs under the
my_fluentindex.
- Create a Data View and add
my_fluentindex to it.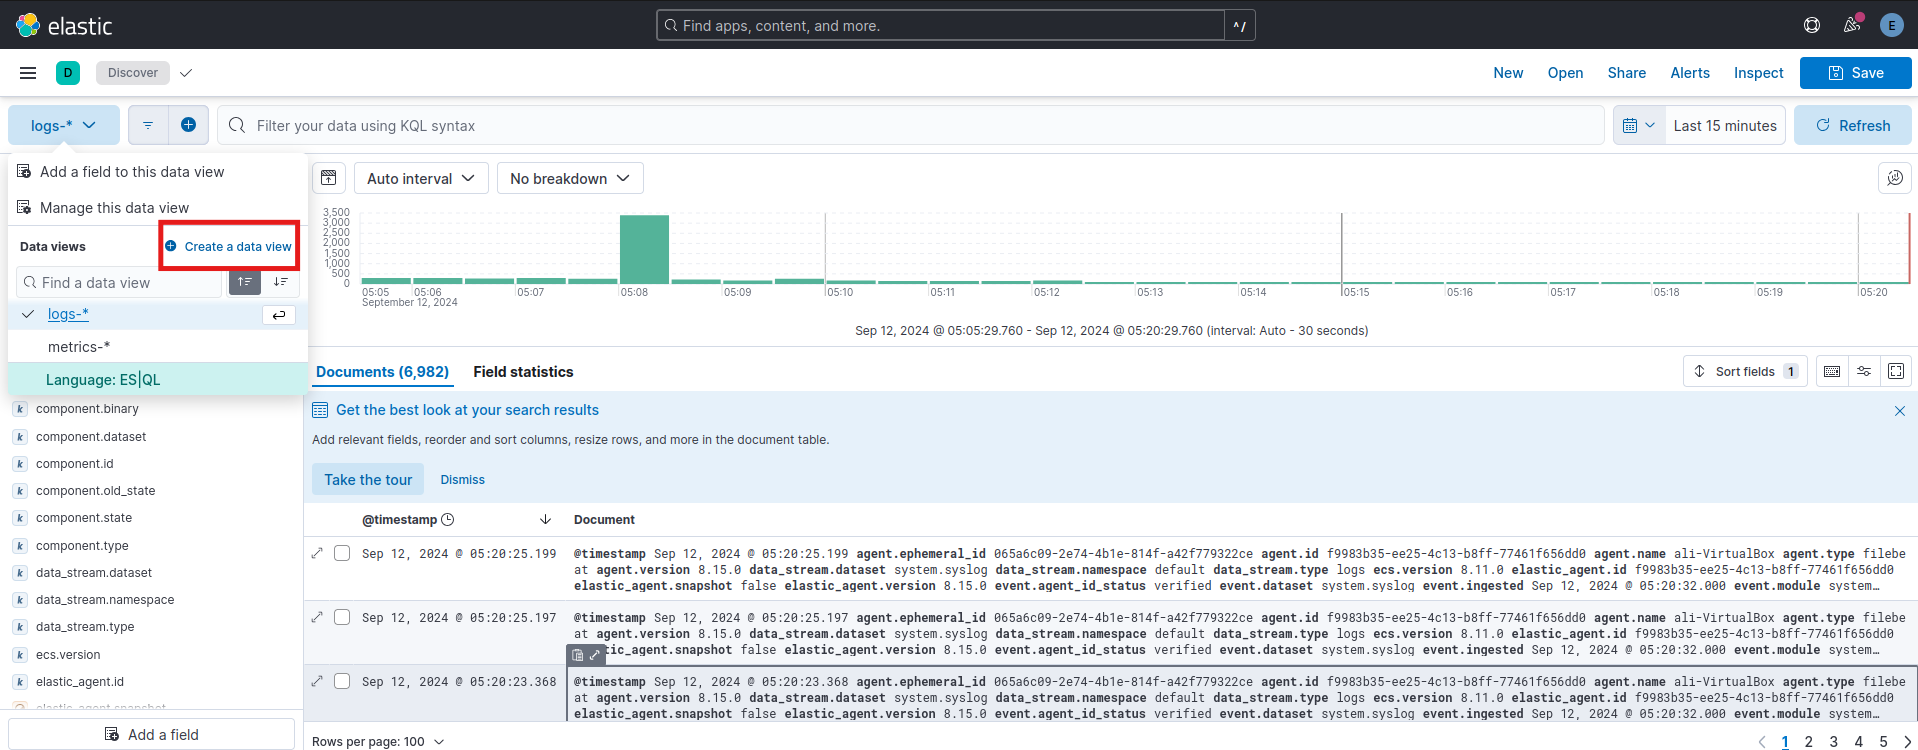

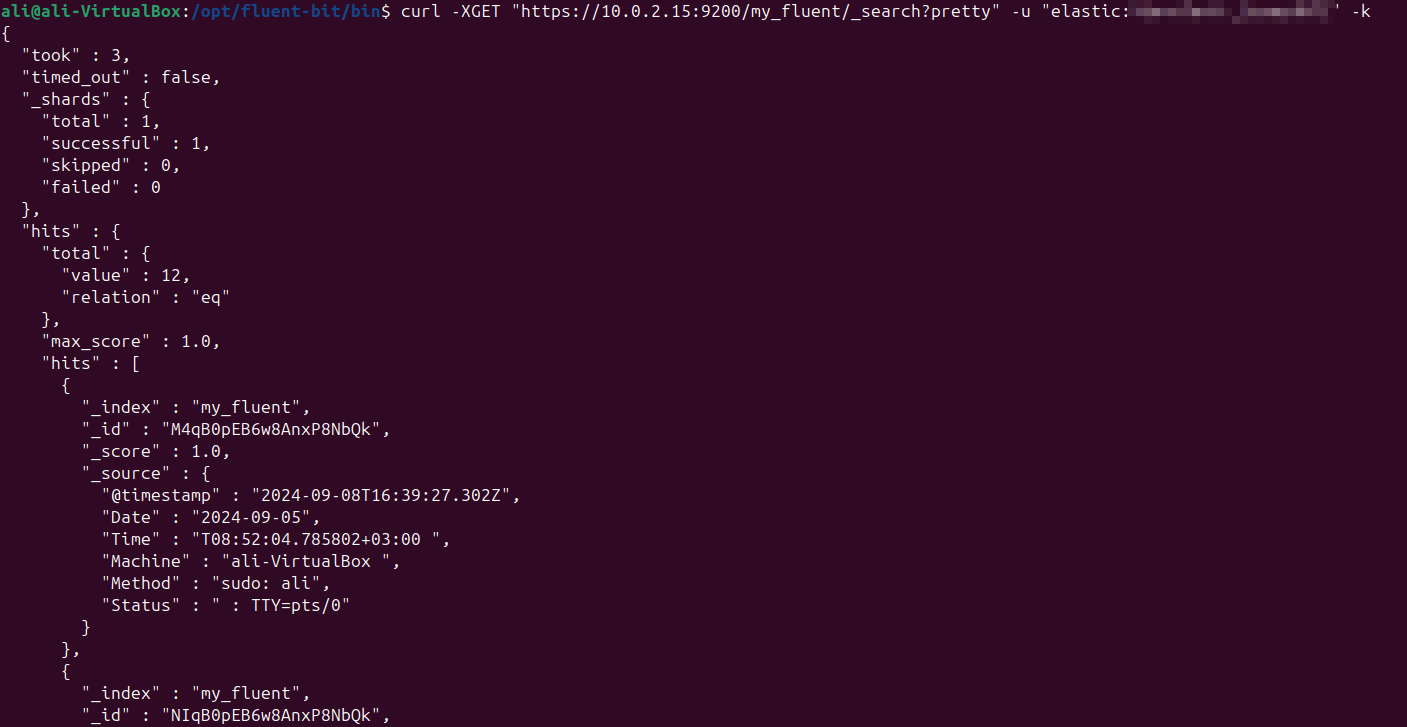
Option 2: Using Curl Command
Alternatively, we can verify the index and its documents using a simple curl request:
curl -XGET "https://10.0.2.15:9200/my_fluent/_search?pretty" -u "elastic:my_auto-generated_password" -k
 By following these steps, we made it, installed Fluent-Bit and cofigured it with Elasticsearch.